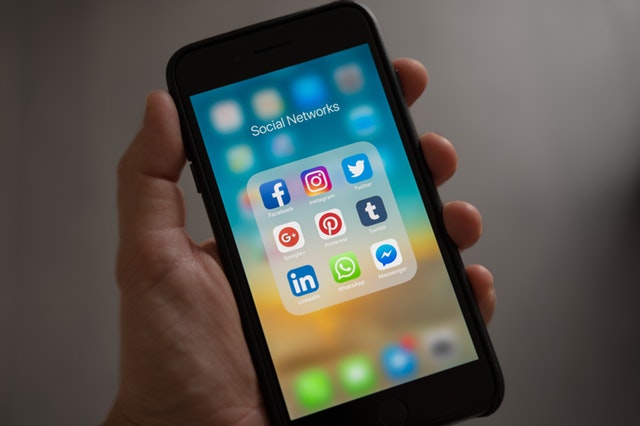
There can be plenty of reasons behind setting a lock on an iPhone. For instance, it can be that you want to keep your private pictures to be super safe or it can even be that you want to keep the kids far from the reach of some applications that are not appropriate for their age and so on.
Sadly, iOS devices don’t have the support to lock every application automatically.
Best ways of locking apps on an iPhone
The method of locking first-party applications on iPhone by using restrictions
- Firstly, visit Settings from the iPhone Home screen.
- Then, click on General.
- Move downwards and click on Restrictions.
- Press on Enable Restrictions.
- Put your new password.
- Put it one more time for confirming the same.
- After that, below the Allow sub-part, you will get many options of disabling first-party applications. For instance, Siri.
- Observe that it will not comprise of applications that have been installed by you.
- Push the toggle towards leftwards and switch it off. After doing it, you will be able to prevent any disallowed applications from getting displayed on the Home screen.
- Look that it is not a way of locking an application. Instead, it will be better to call it a local application deleting way, after all, apps that you lock by the above-given method will not be avail to you till you again permit them.
- Fortunately, you can also put parental controls on your smartphone.
Guided Access in simple words is known as a single application lock option.
1. Firstly, visit the Settings from the iPhone Home screen.
2. Then, click on General.
3. Press on Accessibility.
4. After that, move downwards and press on Guided Access.
5. Enable the Guided Access switch by pushing the toggle towards the rightwards.
6. Next, click on Passcode Settings.
7. Press on Set Guided Access Passcode.
8. Put the new passcode.
9. Then, put the new passcode one more time for confirming the same.
Note: If you have Touch ID functioning on your iOS device, then you can prefer Touch ID to get over with a Guided Access session, rather than with a passcode. To do that, you only require to complete the steps till 5th point. There is a slight change from the 6th step, after clicking on Passcode settings, you need to switch on the toggle of Touch ID by pushing it rightwards.
The method of using ‘Touch ID'[ to lock ‘compatible applications’ (Application Lock By Fingerprint)
- Firstly, visit Setting from your iOS device Home screen.
- Click on Touch ID and Passcode.
- Lastly, put your Passcode.
Howdy, I’m Nick. I’m a software engineer living in Manhattan, New York. I am a fan of technology, photography, and design. I’m also interested in music and blogging. You can visit my website office.com/setup.


"Great article! This guide was super helpful in understanding how to lock apps on an iPhone, especially for those of us concerned with privacy and screen time management. I liked how clearly each step was explained—it makes the process simple even for less tech-savvy users. The use of Screen Time and Guided Access features is a smart workaround until Apple introduces built-in app lock functionality. Thanks for sharing such practical tips!"
ReplyDeletePace Express offers International Document Courier Services Mumbai with speed, security, and reliability. Deliver documents worldwide with ease. Book now!
ReplyDeleteI read a lot of interesting posts here. Probably you spend a lot of time writing, Thanks for sharing.
ReplyDeletelaptop repair in Pune